%201-1.webp?width=148&height=74&name=our%20work%20(2)%201-1.webp)


In the realm of digital marketing and customer relationship management, efficiency is key. HubSpot, a leading platform in HubSpot development, empowers businesses to automate various aspects of their workflows for seamless and targeted communication. One powerful feature within HubSpot is the ability to create automated emails. In this blog post, we'll guide you through the process of setting up automated emails to enhance your workflow efficiency.
Step-by-Step Guide to Creating Automated Emails in HubSpot
- Access Marketing > Email in your HubSpot account.
- Click on 'Create email' in the upper right corner.
- Within the dialog box, choose 'Automated' as your selection.
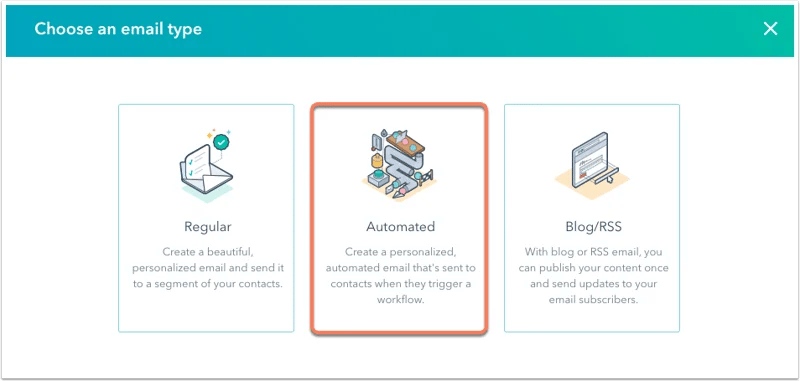
- Select a template.
- In the dialog box, enter an Email name and click Create email.
- Compose and set up the email.
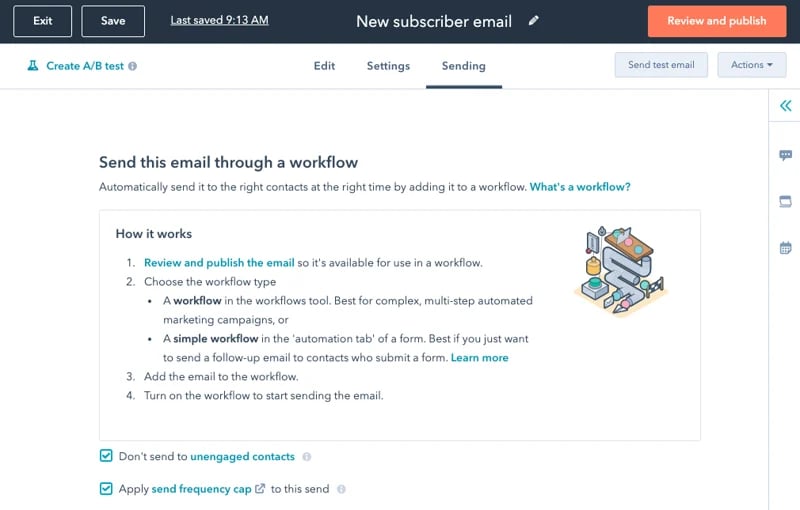
- Click the Sending tab.
- To exclude contacts with low engagement, check the Don't send to unengaged contacts checkbox.
- If you have a Marketing Hub Enterprise account, unselect the Apply send frequency cap checkbox to disable the default send frequency cap.
- In the upper right, click Review and Publish to publish the automated email.
Once the automated email is published, it will be available for selection in the Send email action in workflows.
Generate Automated Emails directly in the Workflow Editor
Emails created within the workflow tool will initially have a basic appearance but can be further customized in the email editor.
To create an automated email in the workflow tool:
- Navigate to Automation > Workflows in your HubSpot account.
- Click the name of an existing workflow or create a new one.
- In the workflow editor, click the plus icon (+) to add a workflow action.
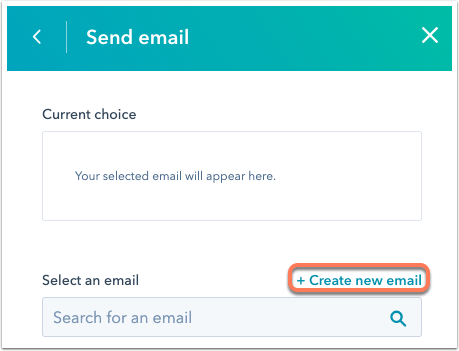
- In the right panel, select the "Send email" action.

- Click + Create new email
- In the right panel, input the details of your email.
- For additional customization, click the email tool link at the top of the panel.
- Once you've composed your email, save it by clicking "Save email" at the bottom of the right panel.
Upon saving your email, you have the option to choose it for inclusion in any workflow. Additionally, you can access it from your email dashboard for additional editing.